When tackling home renovation projects, having the right tools can make all the difference. A cordless drill, circular saw, and level are just a few essentials that can elevate your DIY game. You’ll want to guarantee you’ve got everything from a reliable tape measure to safety gear to protect yourself. As you gather your toolkit, consider how each tool contributes to a successful renovation. Let’s explore these must-haves and why they’re vital for your next project.
Key Takeaways
- A cordless drill is essential for various tasks, offering versatility with battery life and torque settings for ease during projects.
- A circular saw is crucial for cutting materials accurately, ensuring safety with proper gear and workspace organization.
- Measurement tools like levels and tape measures guarantee precision in renovations, enhancing the overall quality of the finished work.
- A hammer and screwdriver set provides the necessary tools for assembly and disassembly, making it indispensable for DIY projects.
- Safety gear, including goggles and gloves, is vital to protect against injuries while working on home renovations.
Cordless Drill
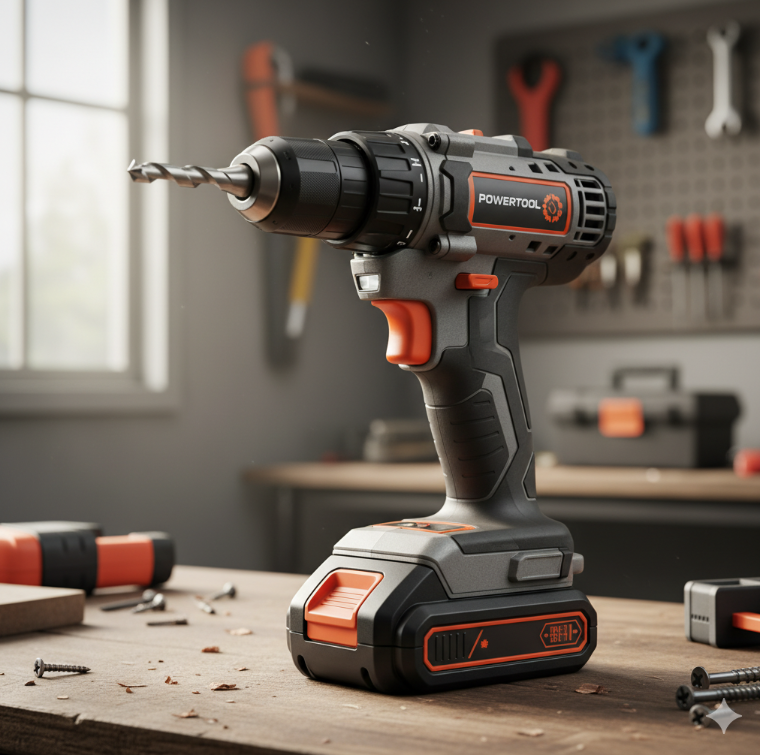
A cordless drill is an essential tool for any DIY enthusiast, making it easier to tackle a variety of home renovation projects.
When choosing one, you’ll want to evaluate the cordless drill features that best suit your needs, such as battery life, torque settings, and speed options.
Brands like DeWalt, Makita, and Bosch offer reliable models that can handle everything from light tasks to heavy-duty jobs.
Look for ergonomic designs that enhance comfort during extended use.
With the right cordless drill, you’ll find your DIY projects not only easier but also more enjoyable, boosting your confidence in home renovations.
Circular Saw
When it comes to cutting through wood and other materials, a circular saw is an essential tool in your DIY arsenal.
You’ll find various types of circular saws designed for different tasks, but safety should always be your top priority when using them.
Let’s explore the types available and some key safety tips to keep in mind.
Types of Circular Saws
Circular saws come in several types, each designed for specific tasks and materials, making them essential tools for any DIYer. Understanding these circular saw types and their features can help you choose the right one for your project.
| Type | Features |
|---|---|
| Standard Circular | Versatile, ideal for wood cutting |
| Worm Drive Circular | Higher torque, great for heavy-duty |
| Sidewinder | Lightweight, compact, easy to handle |
When selecting a circular saw, consider the material you’ll be cutting and the level of precision you need. With the right type, you’ll enhance your DIY experience considerably.
Safety Tips for Use
Using a circular saw can be an efficient way to tackle your DIY projects, but safety should always come first.
Here are some essential safety precautions to guarantee injury prevention:
- Wear protective gear: Always use safety goggles and ear protection to shield against debris and noise.
- Check the blade: Confirm the blade is sharp and properly installed before each use.
- Secure your materials: Clamp down your workpieces to prevent movement while cutting.
- Maintain a clear workspace: Keep the area free of clutter to avoid tripping hazards and guarantee easy access to your tool.
Stay safe and happy DIYing!
Level
A reliable level is an essential tool for any DIYer looking to achieve professional results. Whether you’re hanging shelves or installing cabinets, a level guarantees your work is straight and true.
You’ll find traditional bubble levels useful for basic tasks, but consider investing in laser levels for more complex projects. These advanced tools project a straight line across your work area, making level adjustments easier and more accurate.
With a laser level, you can quickly determine if surfaces are perfectly aligned, saving you time and frustration. Don’t underestimate the power of a good level—it’s key to flawless home renovations!
Tape Measure
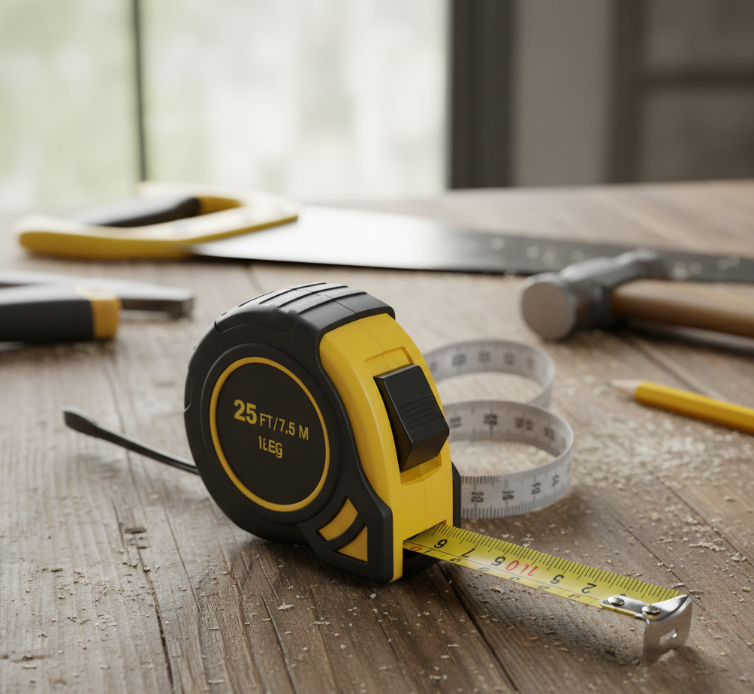
When it comes to home renovation, accurate measurements are essential for a successful project.
You’ll want to choose the right type of tape measure to suit your needs, whether it’s a classic metal tape or a more flexible option.
Let’s explore how these tools can help you achieve precision in your DIY endeavors.
Accurate Measurements Matter
Accurate measurements can make or break your home renovation project, so having a reliable tape measure on hand is essential.
To enhance your measurement techniques, consider these four tips:
- Always double-check your measurements to guarantee precision.
- Use a stable surface to avoid bending the tape, which can lead to inaccuracies.
- Mark your measurements clearly with a pencil for easy reference during cutting.
- Practice using the tape measure regularly to improve your skills and confidence.
Types of Tape Measures
Choosing the right tape measure can considerably impact your home renovation success, as different types are designed for various tasks and environments.
A traditional steel tape is versatile and durable, perfect for everyday projects. For precision, consider a digital tape, which offers measuring accuracy and easy readability.
If you’re working in tight spaces, a compact or pocket tape measure is handy. For larger jobs, a long-retractable tape can help you cover significant distances quickly.
Each type has its strengths, so assess your specific needs and choose accordingly to guarantee your measurements are spot on for a successful renovation.
Hammer
A hammer is an essential tool in every DIYer’s toolkit, serving as the backbone of countless home renovation projects. Understanding different hammer types and techniques can greatly enhance your effectiveness.
Here are four key points to take into account:
- Claw Hammer: Great for driving in nails and removing them.
- Sledgehammer: Ideal for demolition tasks and heavy-duty work.
- Ball Peen Hammer: Best for metalworking and shaping materials.
- Tack Hammer: Perfect for upholstery and delicate tasks.
Mastering these hammer techniques won’t only improve your skills but also guarantee you get the job done efficiently and effectively.
Screwdriver Set
Screwdrivers are indispensable tools in any DIYer’s arsenal, making a screwdriver set one of the most essential components of your toolkit.
You’ll encounter various screwdriver types, including flathead, Phillips, and Torx, each designed for specific tasks. Having a versatile set allows you to tackle different projects with ease.
Remember, proper screwdriver maintenance is key to longevity; keep your tools clean and store them correctly to prevent damage. Regularly check for wear and replace any that show signs of excessive use.
Proper maintenance of your screwdrivers ensures they last longer; keep them clean and stored safely to avoid damage.
With the right screwdriver set, you’ll be well-equipped to handle everything from furniture assembly to electrical work.
Pry Bar
When tackling home renovations, a pry bar is an essential tool you won’t want to overlook.
Understanding the different types of pry bars and how to use them properly can make your projects much smoother.
Plus, learning how to maintain your pry bar will guarantee it lasts through many DIY adventures.
Types of Pry Bars
While you might think all pry bars are created equal, there’s actually a variety of types, each designed for specific tasks.
Selecting the right one can make your renovation projects smoother. Here are four common types of pry bars, available in different sizes and made from various pry bar materials:
- Flat Pry Bar: Ideal for removing nails and lifting materials.
- Claw Pry Bar: Great for pulling apart boards or dismantling furniture.
- Wrecking Bar: Perfect for heavy-duty tasks like tearing down walls.
- Tapered Pry Bar: Useful for precision tasks in tight spaces.
Choose wisely for your next DIY adventure!
Proper Usage Techniques
Using a pry bar effectively requires understanding the right techniques to secure safety and efficiency.
First, make sure you have a proper grip on the tool. This means holding it firmly with both hands, giving you better control.
Next, focus on tool alignment; position the claw of the pry bar at the right angle to the surface for maximum leverage.
When prying, use a rocking motion instead of brute force to reduce the risk of damage.
Always be mindful of your surroundings to avoid accidents.
Maintenance and Care
Although a pry bar is a sturdy tool, taking care of it guarantees it lasts through multiple renovation projects.
Here are some essential tool maintenance care tips to keep your pry bar in top shape:
- Clean regularly: Wipe off dirt and debris after each use to prevent rust.
- Inspect for damage: Check for bends or cracks that could compromise performance.
- Store properly: Keep it in a dry place, ideally in a toolbox or on a pegboard.
- Avoid excessive force: Use it as intended to prevent unnecessary wear and tear.
With these simple steps, your pry bar will serve you well for years!
Stud Finder
A stud finder is an essential tool for any DIYer looking to hang shelves, artwork, or heavy fixtures securely.
Understanding stud finder features is key; many models include audio alerts and visual indicators to show when you’ve located a stud. You’ll want to choose a model known for its stud finder accuracy, helping you avoid mistakes that could lead to damage or unsafe installations.
Whether you’re using a magnetic or electronic stud finder, take the time to practice its use on different wall types.
With the right tool in hand, you’ll hang with confidence and achieve professional-looking results.
Utility Knife
When tackling home renovation projects, a utility knife becomes your go-to tool for precision cutting and trimming.
Here are some essential utility knife features to contemplate:
- Retractable blade for safety and ease of use.
- Comfortable grip to reduce hand fatigue during long tasks.
- Durable blade material for longevity and sharpness.
- Easy blade replacement for quick maintenance.
To guarantee peak performance, regular utility knife maintenance is key.
Keep the blade sharp, clean debris from the handle, and store it safely.
With these tips, your utility knife will be an invaluable asset for your DIY renovations.
Safety Gear

After equipping yourself with a reliable utility knife, the next step in your DIY journey is ensuring your safety.
Investing in essential safety equipment is vital to protect yourself from potential hazards. Start with safety gear types like goggles to safeguard your eyes from debris, gloves to shield your hands, and a dust mask to filter out harmful particles.
Don’t forget hearing protection if you’re using loud power tools. A hard hat may also be necessary when working in overhead areas.
Conclusion
Incorporating these 10 essential tools into your DIY arsenal can make a world of difference in your home renovation projects. With a cordless drill, circular saw, and reliable safety gear at hand, you’ll tackle tasks with confidence and precision. Don’t forget about the importance of accurate measurements and secure installations, too! Equip yourself with the right tools, and you’ll not only streamline your efforts but also enjoy the satisfaction of creating a space that’s uniquely yours.